Do you want to install a new light or an air conditioner in the home electrical system? Extending existing electrical circuits is no longer a hassle thanks to the wire splicing techniques.
It ensures a safer joining of wires and, finally, a safe gesture toward the electrical systems. Are you ready to know about the best techniques for splicing wires? Let’s get it!
Materials And Tools You’ll Need
Before you screw and extend the electrical circuits by joining the wires, you better be ready with all the weapons necessary.
Here is the list of tools and materials needed.
- Wire strippers – For removing insulation cleanly
- Wire cutters – For trimming wires
- Needle-nose pliers – Helps twist wires.
- Push-in wire connectors / Wire nuts – To secure the splice
- Electrical tape – Adds insulation.
- Multimeter – For testing continuity and voltage
- Heat shrink tubing (optional) – Offers extra insulation and moisture protection.

Step-by-Step Guide to Splice The Wires
Once you have weapons in the bag, don’t hesitate to go on the adventure.
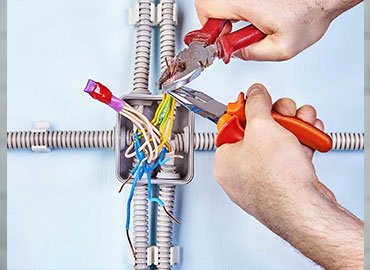
Step 1: Remove Cable’s Insulation
Cables have an outer insulation that protects it from sparks and other issues. First, you should remove and expose the inner wires.
You can remove one inch of coverings from both wires where you want to join them.
Step 2: Strip Wires
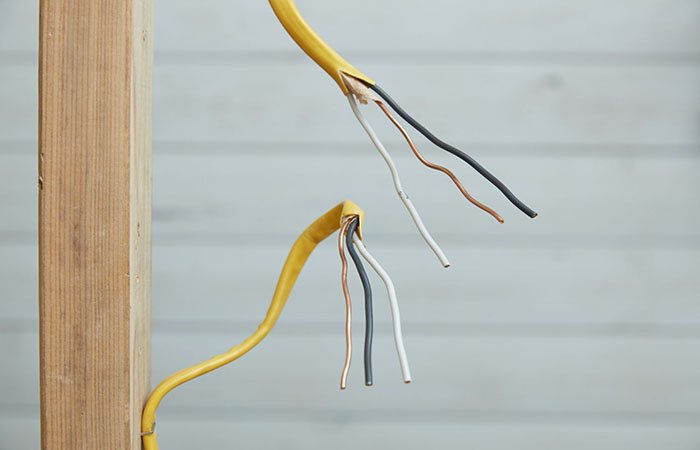
Now, you’ll find a set of wires inside the outer covering.
Strip off almost half an inch of each wire set. Do the same for nearly all the sets of wires you want to splice. It gives sufficient space to join the cables.
Step 3: Splice Ground Wires
Let’s start from the ground wire. Recognize the ground wire.
- Usually, a bare copper wire from both cables is the ground wire. You can join them and twist them with the pliers. Give 2-3 times of twists around each other.
- Grab the wire nuts of the right quality and size. Fix it tight around the junction.
Step 4: Splice Other Wires
It is time for the other wires, like black and white. You can join them too.
Start with the white, then black wires.
- Make the white wires end even and twist them around each other with the lineman’s pliers.
- Spin on the wire nut until it is tight and secure.
- Do the same with the black wires and get the right size of wire nut for the secure connection.
Step 5: Push-in Wire Connectors
Don’t you like the wire nuts? Well, there is another trick— push-in wire connectors. Each splicing requires a wire connector. Do the same as above. Strip off half of an inch of the wires, splice the ground wires first, and use the push-in connectors to hold it safely. Then, the white and black wire splicing technique comes here.
Factors Influencing The Splicing Technique Choice
Different factors can influence the splicing technique and require you to get some add-ons. We have added the crucial factors in this case.
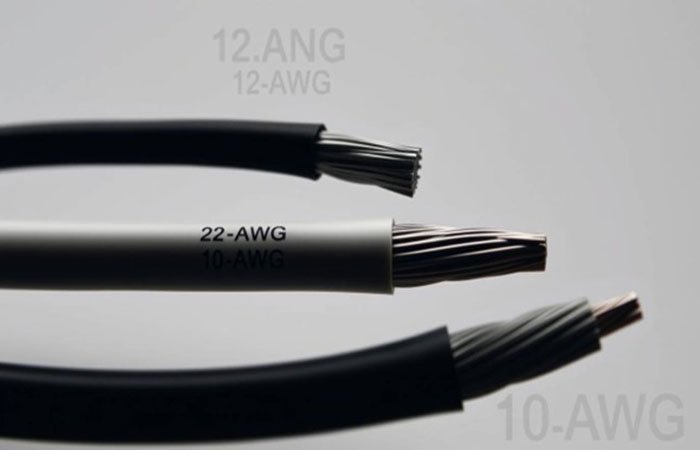
Wire Gauge
How thick is your wire? Wire gauges can change the connection method. Thick wires require robust connectors and proper tightening. In comparison, the same quality of thinner wires might break down with too much tightening. So, keep things as per the wire gauge.
Applications
Automotive applications can require robust splicing with vibration resistance. At the same time, the same home splicing doesn’t make you do that. So, it is better to divide the splicing based on the application’s requirements.
Environmental Conditions
Are you working indoors or outdoors? At home, there is not much temperature or tough conditions. On the other hand, there is special handling needed for the outdoor environment.
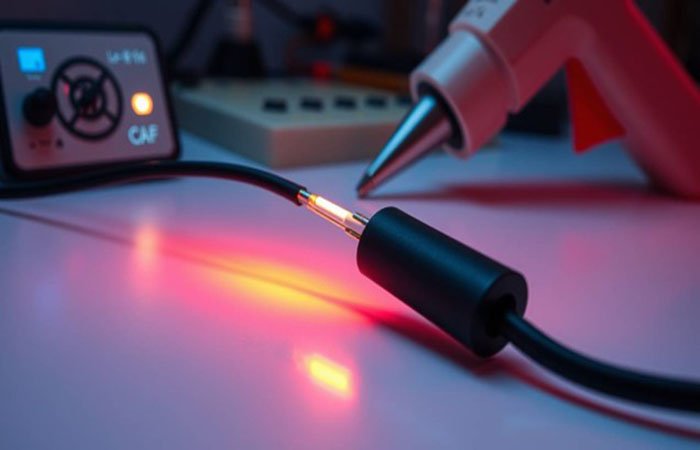
Aesthetics
It is often a choice to have a clean and aesthetic splicing. Usually, soldering with heat shrink comes as a charming option in this case.
Tips for Secure And Long-Lasting Connections
Secure connections promise the longevity of spliced wires. Our experts recommend:
Use Quality Materials
Cheap connectors burn down in no time. You should purchase only quality wire nuts or push-in connectors from the top brands.
Avoid Over-twisting
Over-twisting makes connections vulnerable and easily breaks the joints among wires. Especially if you have thinner wires, over-twisting is a death threat.
Double-check Tightness
Don’t make it too loose or too tight. An adequate tightness ensures the safety and longevity of the connections. Tug each connection.
Test Continuity After Splicing
Don’t close the box before the positive readings come on the multimeter. Rectify connections if the multimeter shows an error.
Common Mistakes to Avoid
Many electricians and DIYers make the following mistakes.
Leaving Exposed Wires
Insulate all the connections properly. Exposed wires are hazardous and might burn down the circuits and connections.
Using Poor Insulation
Poor insulation causes the corrosion of the wires and leads to short circuits. Therefore, check the insulation and ensure it is proper.
Using Incompatible Wires
Copper with copper and aluminium with aluminium. Separate all the wires and use compatible wires to avoid mishaps. Also, there are risks of corrosion when you mix up these wires.
Rushing The Process
Take a second look once you have made all the connections. Test with a multimeter and then turn on the connections.
When to Avoid Splicing and Replace The Wire
If the integrity of the wire is compromised, it is time to run away! Here are a few cases discussed regarding wire integrity.
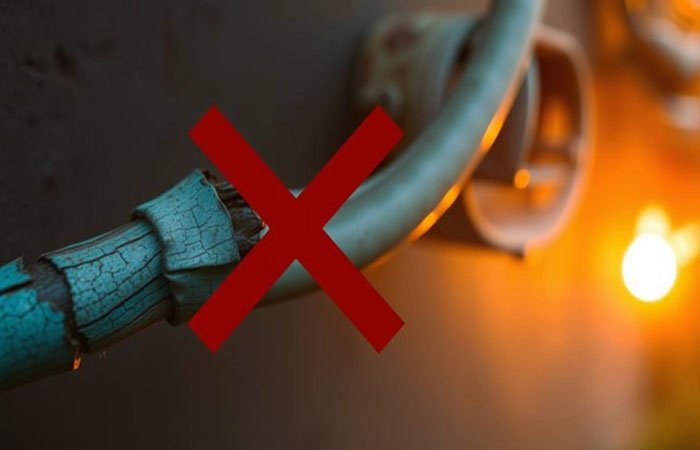
Check if the wire is corroded or brittle
Can you see a greenish residue on the wire? Sometimes, there is a lot of rust on the surface. It shows the corrosion. Brittleness is visible when you bend the wires.You should replace such wires till the corroded length.
If wire damage is around the connector
Wire damage at the splicing ends is tough to manage. It causes several problems, such as poor connections or loose connections. Ultimately, you are risking your life playing such splicing games. So, you should never splice wires with damaged ends. Remove the damaged ends in such cables.
Check prohibited safety code indications
Spot the alarming conditions. Follow the safety codes. For example, NEC in the US doesn’t allow users to splice wires inside walls and ceilings. Also, in wet areas where rainy conditions dominate, electrical associations don’t allow splicing as it can spark several issues.
FAQs
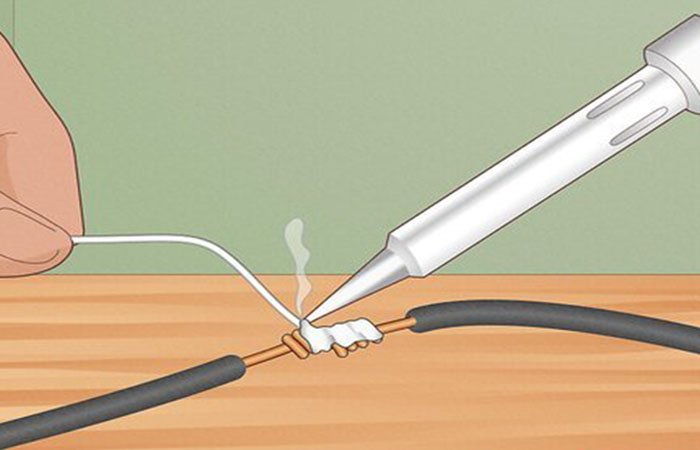
- Can you splice wires without soldering?
Soldering is not a condition but an optional choice. There are other ways to splice wires, such as wire nuts or push-in connectors, to join the wires without soldering.
- What is the best way to join two wires together?
Usually, wire nuts offer the safest joining of two wires together. However, you can try an alternative method— heat-shrink tubing. It is also secure.
- Is it safe to splice wires?
Yes. You can securely splice wire with the above techniques. Take a deeper review of the splicing process and ensure that spliced wires are working perfectly.
- Which wire is used for earthing?
Usually, copper wire or green insulated wire is grounded to protect the system from damage.
Conclusion
Splicing wires is a skill necessary for electricians and DIY workers. Whether you want to install something new in your home or make new connections, learn the accurate techniques and secure connections.
Keep things working with the right tools. Use wire nuts or solder the wires. Test connections with power off and on to confirm the integrity of wire connections!