Are you troubled by frequent tripping of circuit breakers in your home? Don't worry—this is often caused by a faulty circuit breaker. A circuit breaker is a crucial protective device in your home's electrical system. It automatically cuts off the power supply when the current is overloaded or a short circuit occurs, thereby protecting your equipment. Over time, its performance may deteriorate. Therefore, regularly replacing circuit breakers is an essential step to ensure safety. This guide will provide a detailed explanation on how to diagnose and replace a faulty circuit breaker.
Signs of a Bad Circuit Breaker
If your home’s circuit breaker shows any of the following signs, it may be failing:
Frequent tripping: The circuit breaker frequently trips for no obvious reason.
No current: The circuit will not be energized even if the breaker is switched on.
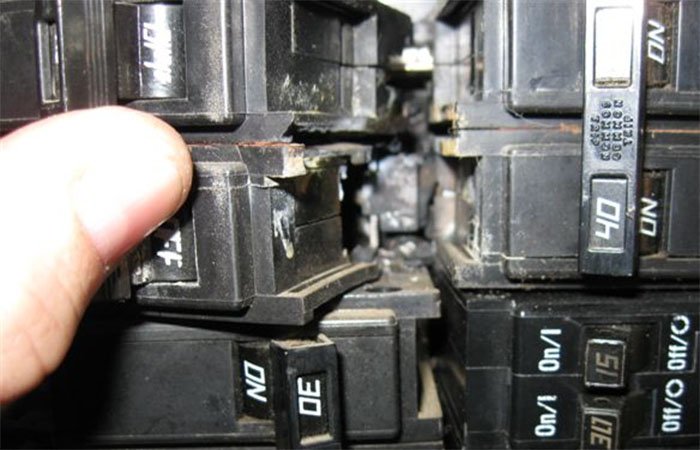
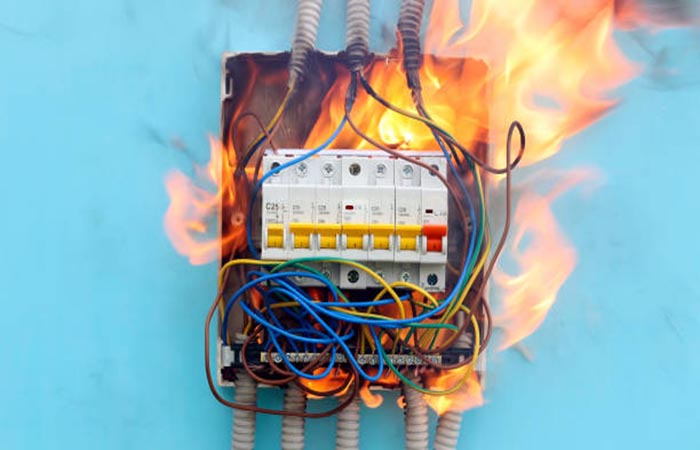
Burning odor: The breaker feels hot to the touch and emits a burnt smell.
Physical damage: The breaker is cracked, discolored, or has melted components.
Age: If the circuit breaker has been in use for more than 15 years, material degradation may lead to failure.
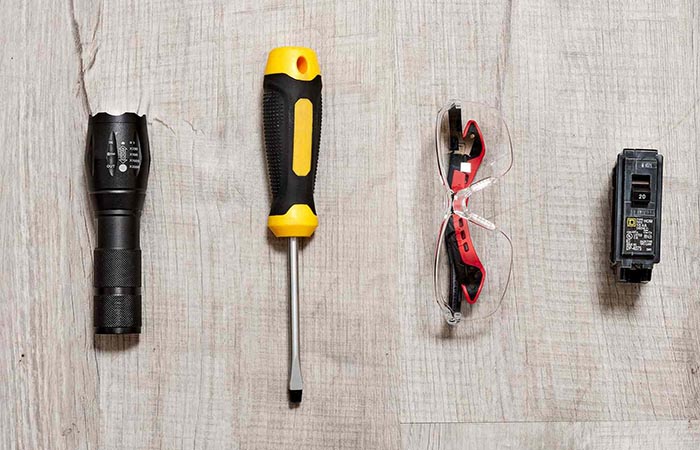
Tools You’ll Need
Before replacing the circuit breaker, prepare the necessary tools.
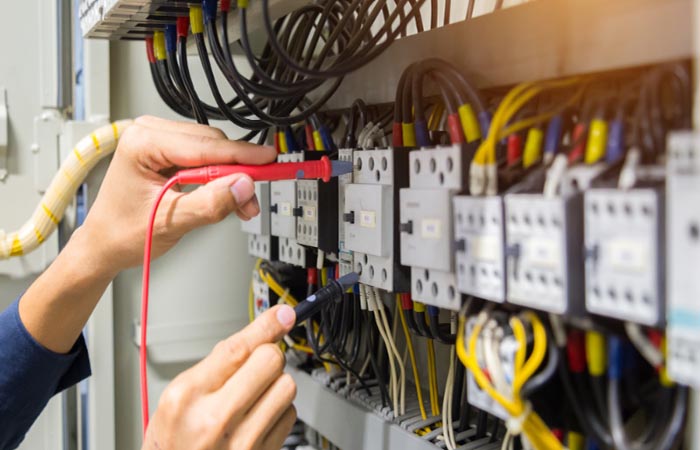
Voltage tester: Confirms whether circuits are de-energized.
Screwdrivers: Use insulated flathead and Phillips screwdrivers to prevent electric shock.
Needle-nose pliers: Used for gripping and manipulating wires.
Safety gear: Wear insulated gloves and goggles during operation to ensure safety.
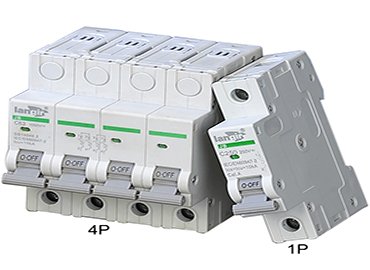
New circuit breaker: Ensure the brand, specifications, and amperage rating match the old breaker. Mixing brands may cause incompatibility and pose hazards.
How to Replace A Circuit Breaker
To replace a damaged circuit breaker yourself, follow these steps:
Step 1: Turn off the power
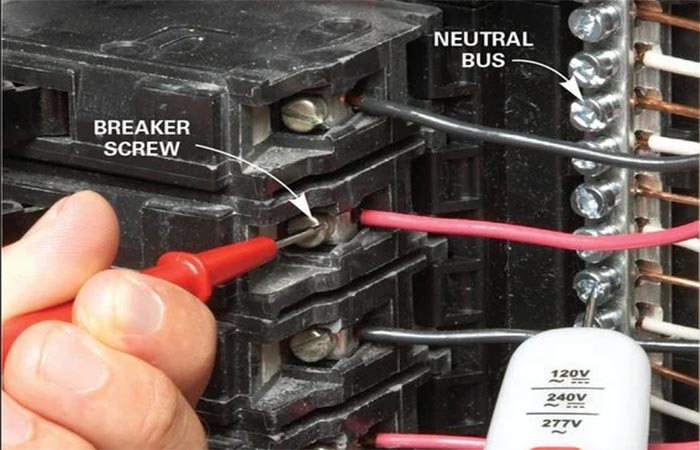
Locate the main circuit breaker and switch it to the “OFF” position. Use a voltage tester to confirm the busbar is de-energized.
Step 2: Detach the switchboard cover
Use a Phillips screwdriver to remove the cover screws. Store screws safely and check for rust inside the panel.
Step 3: Locate the faulty circuit breaker
Use an infrared thermometer or multimeter to identify the faulty breaker. Check for burn marks or loose connections.
Step 4: Remove the old circuit breaker
Grip the edges of the breaker and pull it out. If stuck, gently pry it loose with a screwdriver. Loosen the terminal screws to disconnect the wires.
Step 5: Install the new circuit breaker
Align the new breaker with the busbar and plug it in. Reconnect wires to terminals and tighten screws securely.
Step 6: Turn on the power and test
Reinstall the panel cover and restore main power. After activating the new circuit breaker, test the circuit with a lamp to verify proper operation. If the light functions correctly, the replacement was successful.
Common Mistakes to Avoid
Replacing a breaker may seem simple, but neglecting key details can pose serious risks:
Mixing brands: Using different brands can lead to poor busbar contact, increased resistance, overheating, or even fire.
Over-tightening screws: Excessive tightening may raise resistance and damage wires.
Ignoring damaged wires: Failing to replace frayed or exposed wires invites future issues.
Skipping safety gear: Always wear insulated gloves and goggles to avoid electric shock.
Incorrect breaker type: Avoid using standard breakers in damp areas like kitchens or bathrooms. Use specialized breakers such as GFCI/AFCI types.
When to Call an Electrician
If you observe any of the following, immediately shut off the power and contact a professional electrician:
- A pungent burning odor
- Sparks or flashes inside the switchboard
- Aging switchboard
- Damaged wires, such as cracked insulation or exposed metal conductors.
Aluminum wires require special connectors to effectively reduce fire risk. Electrical issues may appear minor, but hidden dangers can escalate into disasters. Do not attempt repairs solely to save costs. Improper handling increases risks. Hire a licensed electrician to ensure your home meets safety standards and protects your family.
Maintenance Tips for Circuit Breakers
I will share some maintenance tips. Mastering these can effectively extend the lifespan of your home’s circuit breakers.
Regular testing: Use the “TEST” button on GFCI/AFCI breakers for self-checks.
Cleaning: Excessive dust may cause a fire. Therefore, regularly wipe the panel with a dry cloth to keep it clean.
Labeling: Tag each breaker in the electrical panel for easier troubleshooting.
Replace old breakers: Proactively replace units older than 15 years.
FAQS
1. Can I install a higher-amp breaker to stop tripping?
No! This can overheat wires and cause fires.
2. Is it normal for a new breaker to feel warm?
Slight warmth is normal. If it feels hot, unplug devices—it may be overloaded.
3. How long does the replacement take?
Professionals need about 20 minutes. Beginners are advised to allow 1 hour.