Indicator lamps are small yet powerful tools. When a system fails or is on the verge of failure, indicator lamps signal the necessary measures to restore its functionality. This guide provides an in-depth exploration of indicator lamps and explains how they assist in various forms.
What is an indicator lamp?
An indicator lamp It is a light-emitting system that signals a specific event. Different colors of these lights indicate the operational status of the machines.
For example, a green light indicates normal operation. If red illuminates, the system is experiencing a failure—take immediate action! Yellow can indicate imminent failures or warnings.
Indicator lamps are ideal for:
- Power indication
- Process status feedback
- Warning or error alerts
- Visual confirmation in automated systems
Key Components and Construction
An indicator lamp consists of a series of components that are crucial for its safe operation.
Let’s take a look!
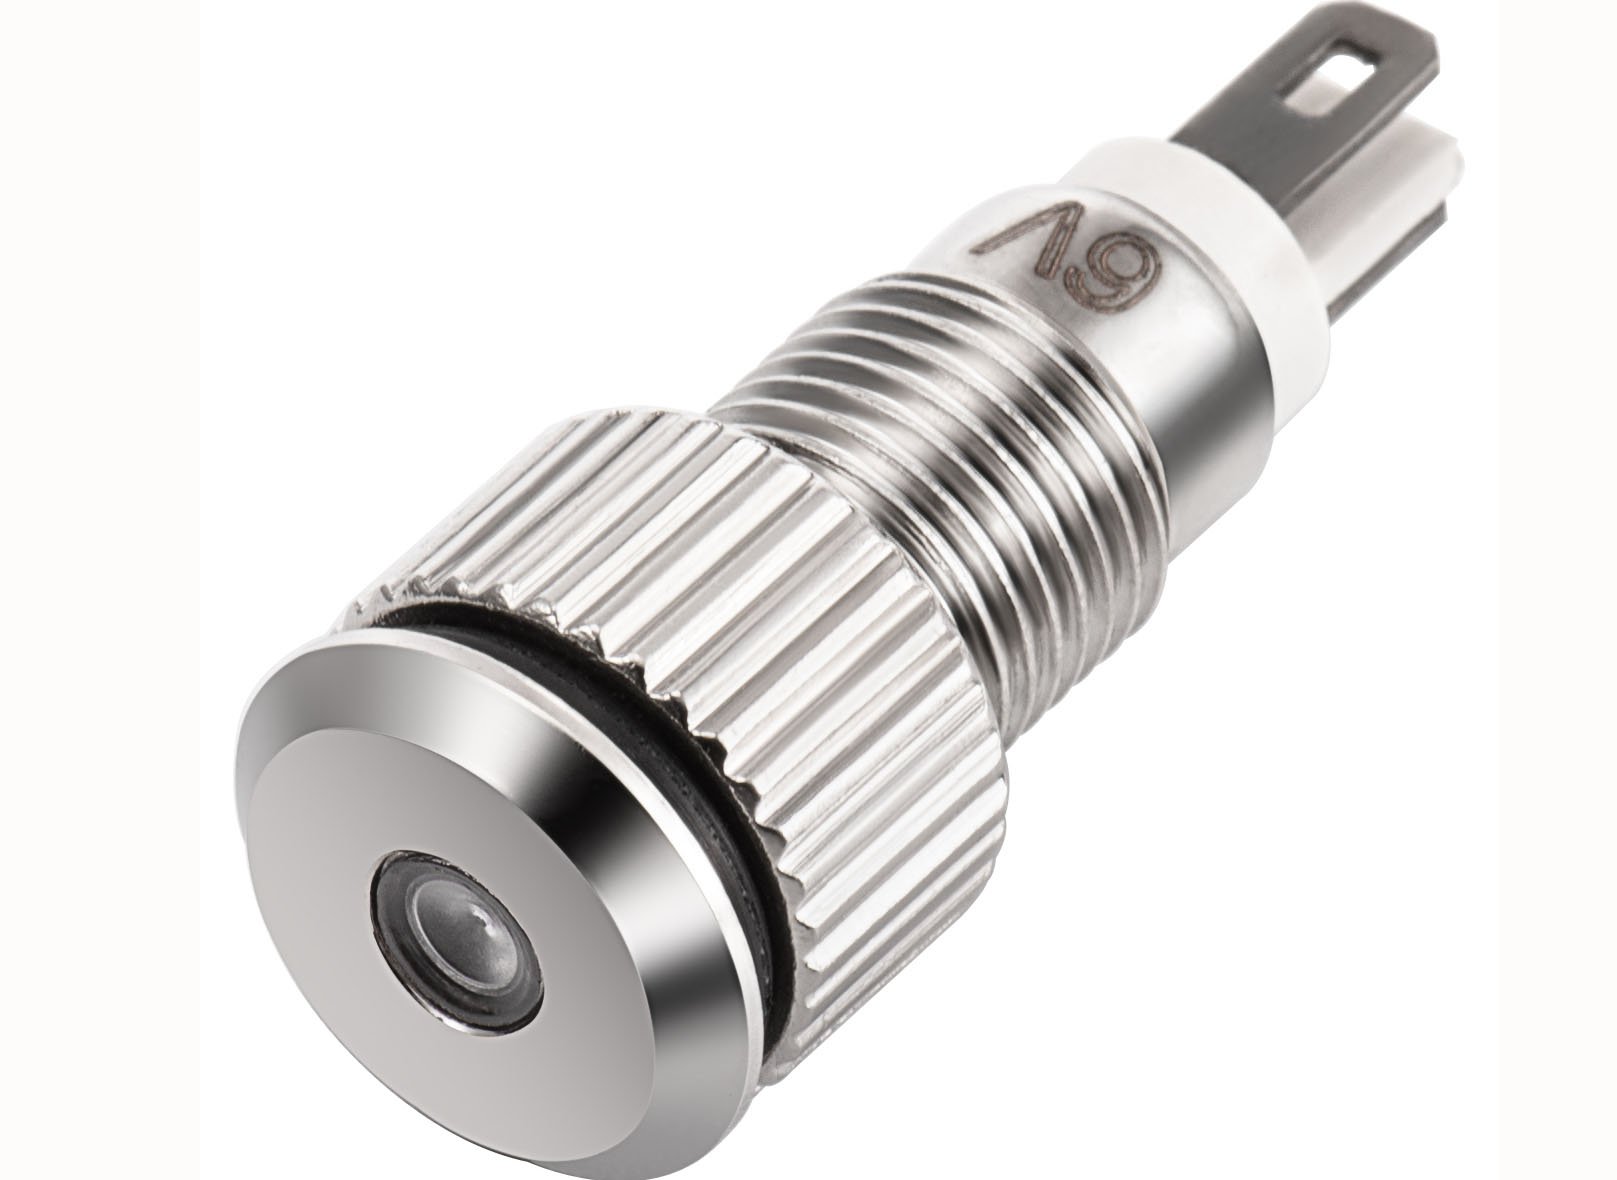
Housing materials
The housing is the external casing of the indicator lamp. It can be made of various materials.
- Metallic
- Plastic
- Thermoplastic elastomers
Lens and color filters
The purpose of the lens is to direct and diffuse light, while color filters display the selected colors. Lenses commonly come in domed or cylindrical shapes.
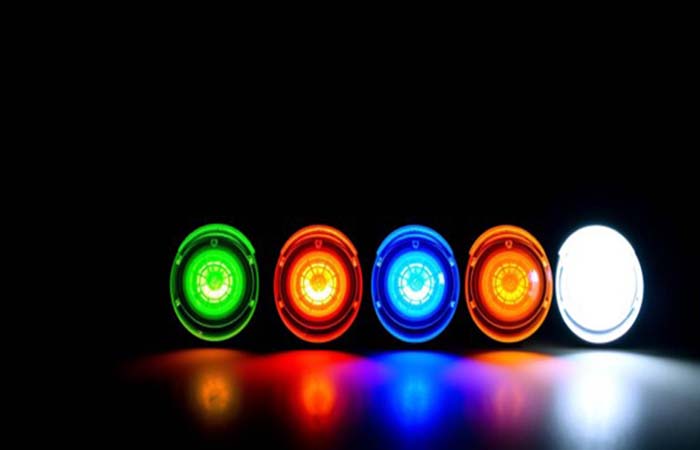
Colors can signify:
- Red – Fault or stop
- Green – Normal operation
- Yellow – Warning or standby
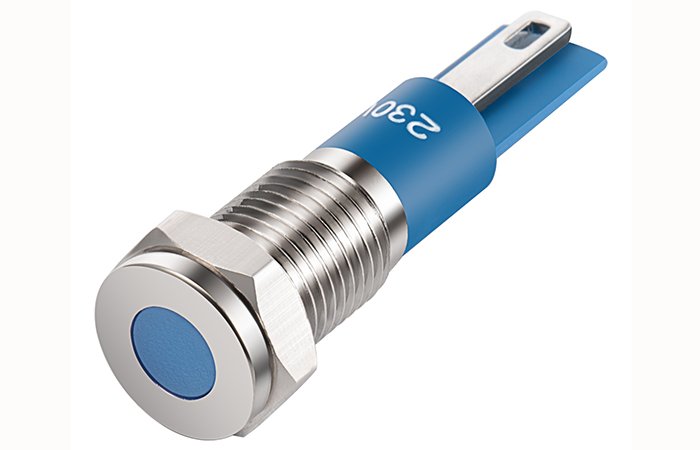
- Blue – Optional function or control
- White – Power or general signal
Internal light source
An indicator lamp contains a light source that illuminates to provide specific colors. The source can be:
- Incandescent light bulbs
- Light Emitting Diodes
- Neon tube
- Fiber optic light pipe
Mounting and terminals
How is your indicator lamp fixed to devices or panels? Mounting options include panel mount or snap-in mount.
Terminals include:
- Solder lugs
- Quick-connect spade terminals
- Screw terminals
- Wire leads
Types of Indicator Lamps
There are four fundamental types of indicator lamps available on the market.
LED indicator lamps
LED indicators use light-emitting diodes, which consume less energy while producing superior illumination. They offer advantages such as:
- Long life up to 100,000 hours
- High energy efficiency
- Compatibility with AC and DC technology
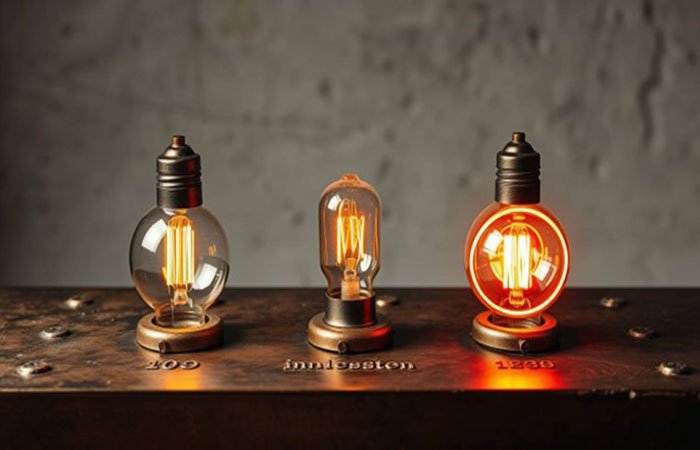
Incandescent indicator lamps
使用加热灯丝产生光。这是一种较旧的技术,成本较低但能效较低。.
Neon indicator lamps
氖气指示灯是一种更具风格的光源。它们通过电离的氖气发光,工作电压范围较高,为90V-250V。.
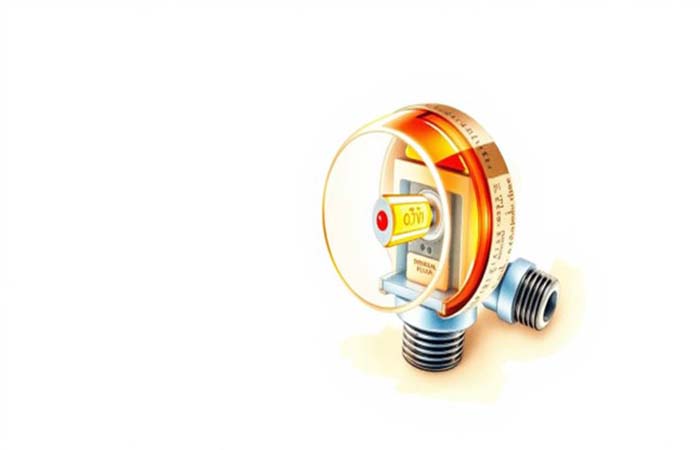
Fiber optic indicator lamps
光纤指示灯提供远程光源,是远程监测的理想选择。它们可用于危险系统。.
Characteristics of LED indicators
在技术方面,LED指示灯遥遥领先。它具有以下特点。.
Energy efficiency
与白炽灯泡和氖灯相比,LED指示灯功耗仅为毫瓦级,能效更高。.
Longevity
长达100,000小时的使用寿命仍然是最实用且令人印象深刻的特点。.
Instant response
与白炽灯泡等竞争对手相比,LED指示灯无需预热。.
Low heat emission
发热量极低,转换率高。因此,与竞争对手相比,LED指示灯能提供更亮的光。.
Common Uses of Indicator Lamps
指示灯服务于各种行业和应用,用途如下。.
- Industrial control panels 可通过多种灯光颜色选项获得故障早期预警。.
- 汽车仪表盘。. 指示灯显示油位、发动机检查和电池状态。.
- 消费电子产品。. 电视、电脑和充电器使用此灯来了解设备的运行状态或充电状态。.
- 家用电器。. 洗衣机、烤箱和微波炉 利用 指示灯来显示运行状态和故障。.
接线与安装指南
Tools and materials needed
- 指示灯
- Screwdriver
- 剥线钳
- A multimeter.
- 压接端子(如需要)
- 电工胶带或热缩管
- 电钻(用于面板安装孔)
Step-by-step wiring instructions
- 步骤1: 关闭电路的所有电源。.
- Step 2: 找到安装空间,并在表面钻孔以安装指示灯。.
- Step 3: 将灯插入孔中。使用卡扣或螺母将其固定到位。.
- Step 4: 将电线连接到指示灯端子。在继续操作前确认极性。.
- 步骤5: 夹紧所有电线,如有裸露部件则进行绝缘处理。重新检查所有设置。.
- 步骤6: 打开电源并检查指示灯。如果灯亮起,说明您做得很好!
Safety precautions
如果这是您的首次DIY工作,请保持敏捷并遵循以下安全措施。.
- 佩戴手套和眼镜,以避免对身体或眼睛造成任何意外伤害。.
- 验证系统的电压额定值,并检查与指示灯的兼容性。.
- 安装指示灯时,请关闭电源。.
- 避免接触带电面板或佩戴手套操作。.
Maintenance and Troubleshooting
维护可以全力延长指示灯的使用寿命。.
Regular inspection routines
- 根据计划进行定期检查,无论是每日还是每周。.
- 检查指示灯是否变暗或变色,并及时纠正。.
- 清洁透镜并确保其完好清晰,以免光线分散。.
- 保持清洁习惯,延长灯具寿命。.
常见问题(闪烁、变暗、不亮)
| 问题 | 可能原因 | 解决方法 |
| 不亮 | 电源关闭、电压错误、灯烧毁 | 检查电源、电压,更换灯具 |
| 闪烁 | 连接松动、电压骤降 | 拧紧电线,稳定电源 |
| 变暗 | 电压过低、透镜脏污 | 检查电压,清洁透镜 |
| 随机开关 | 接线或开关故障 | 检查并修复接线/开关 |
| Overheating | 电压过高、气流不畅 | 降低电压,改善通风 |
| 透镜变色 | 热损伤或紫外线损伤 | 更换透镜/灯具 |
Key Features to Consider
您正在做最终决定吗?获取专家建议以筛选合适的指示灯。.
Voltage and current ratings
匹配电压和电流额定值。通常,12V直流或120V交流是理想额定值。然而,过电压会产生更多热量并烧毁灯具。电压不足则相反,会导致灯光变暗。.
Brightness and color options
A different range of brightness is available. However, select the ambient lighting to better adhere to your needs. Check the color range from red to blue.
Mounting style
The flush mount looks clean and better, while the extended mount offers better visibility from multiple angles.
IP rating and environmental resistance
Do you have harsh environmental conditions? IP65/IP67 can protect you. However, check vibration and temperature resistance beforehand.
Lifespan and durability
LED indicators are better at durability, maintenance, and lifespan. However, you can select other options like neon bulbs or incandescent bulbs.
FAQs
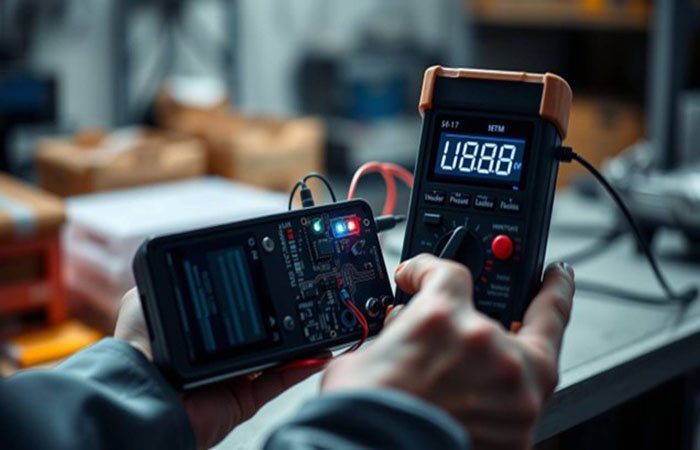
1.How do I test the faulty lamp indicator?
A multimeter is often used to check faulty lamp indicators. It tells about the current, voltage, and power of the indicator and any disturbances or incompatibility with the power supply.
2.Do lamp indicators come with audible alarms?
Lamp Indicators mainly focus on the visual signals in the form of light colors. However, some indicators are customized and come with an associated buzzer for further alert about the process.
3.Can indicator lamps be replaced or serviced?
Most indicator lamps come with replaceable bulbs or LED lights. If your lamps are sealed externally, they are irreplaceable. Before purchasing the replaceable lamps, check lamp specifications.
4.Is it possible to dim the LED lamp’s brightness?
Yes. First, check if your LED lamps offer dim brightness support. Otherwise, you can get a compatible switch that decreases the light intensity. Sometimes, input voltage can alter the brightness and cause the dimness of the brightness.
Conclusion
Indicator lamps seem simple and small tools but their functions are of the last point warriors. They wave their color flags to warn you about the early problems. The latest technology is deploying indicator lamps in every device and system to grab the instant visual signals and take necessary steps before the system plunges into the failure process.