Indicator lamps are small but powerful tools. When the system fails or is about to fail, indicator lamps signal the necessary measures to revive it. This guide dives deep into indicator lamps and describes how they help in various forms.
What is an indicator lamp?
An indicator lamp is a light-emitting system that signals a specific event. Different colors of these lights show off the operational status of the machines.
For example, the green light shows a fine operation status. If red turns on, the system is going through failures— take measures! Yellow can indicate imminent failures or warnings.
Indicator lamps are ideal for:
- Power indication
- Process status feedback
- Warning or error alerts
- Visual confirmation in automated systems
Key Components and Construction
An indicator lamp comes with a series of components that are crucial for its safe operation.
Let’s take a look!
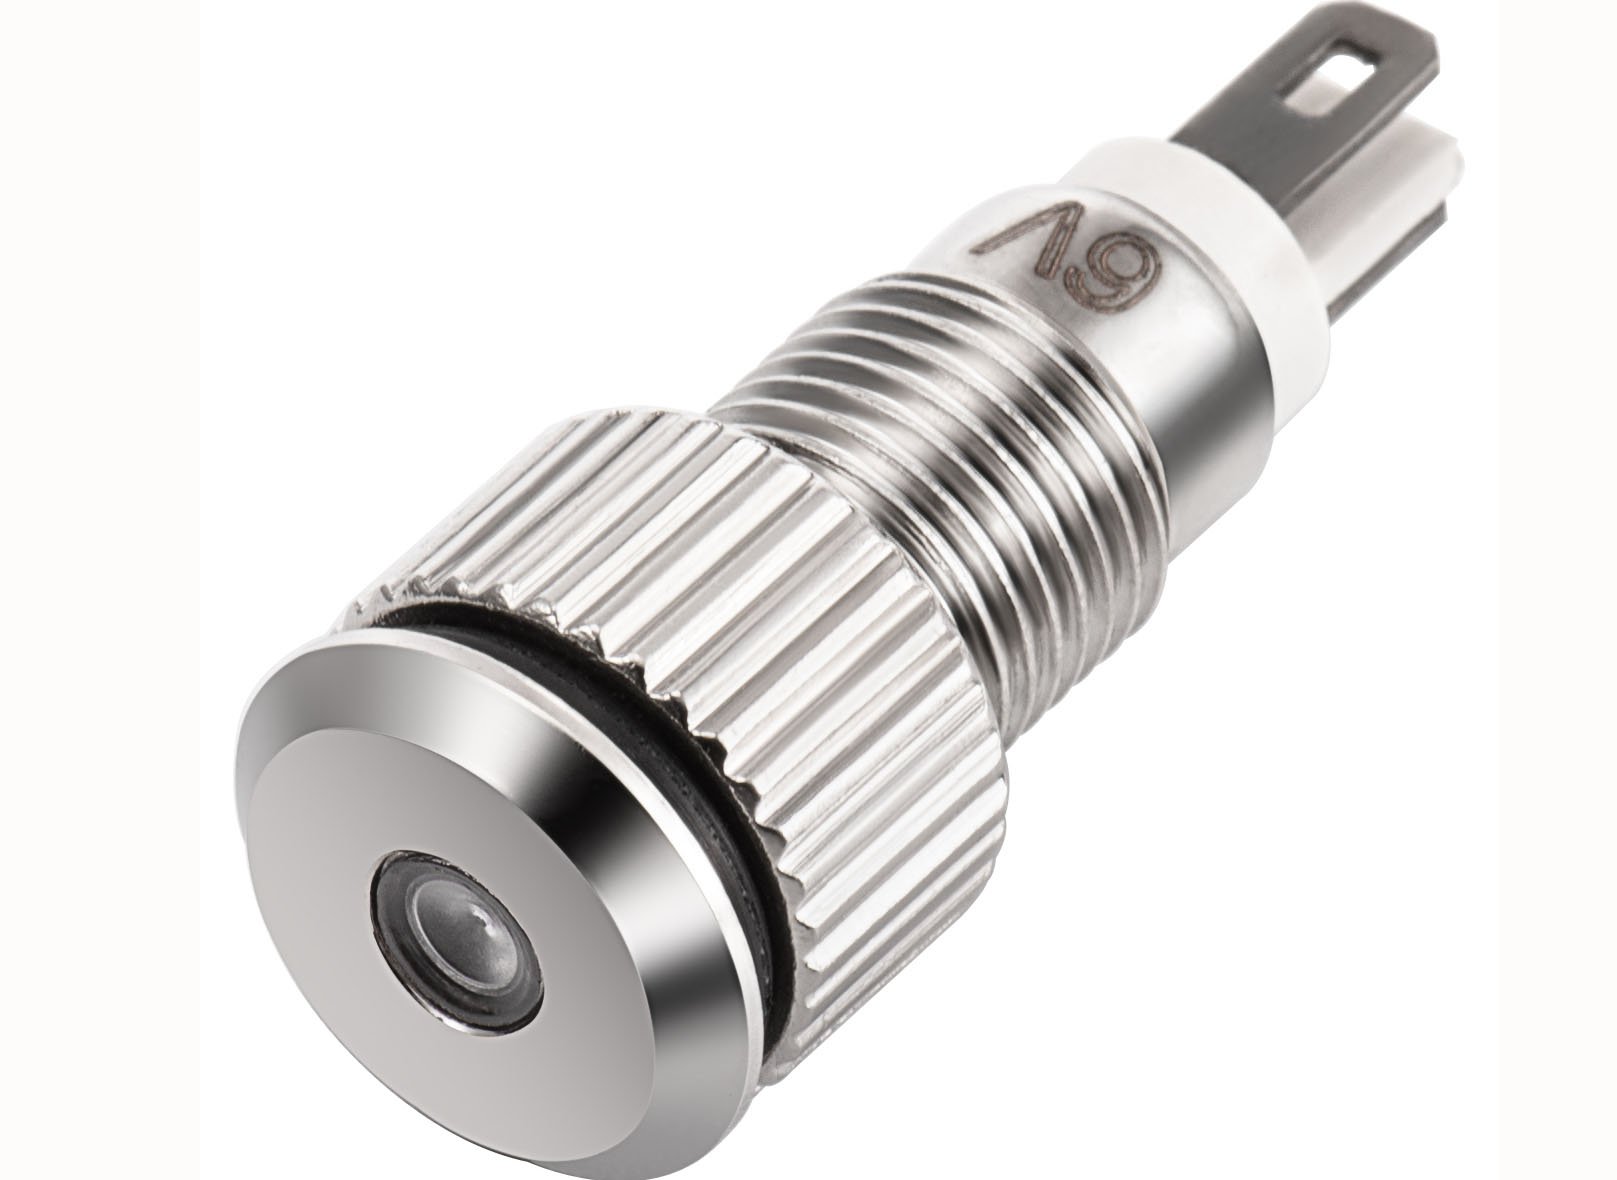
Housing materials
Housing is the external casing of the indicator lamps. It can be of multiple types.
- Metallic
- Plastic
- Thermoplastic elastomers
Lens and color filters
The purpose of the lens is to direct and diffuse light while the color filters show off the colors based on the choices. Commonly, lenses come in domed or cylindrical shapes.
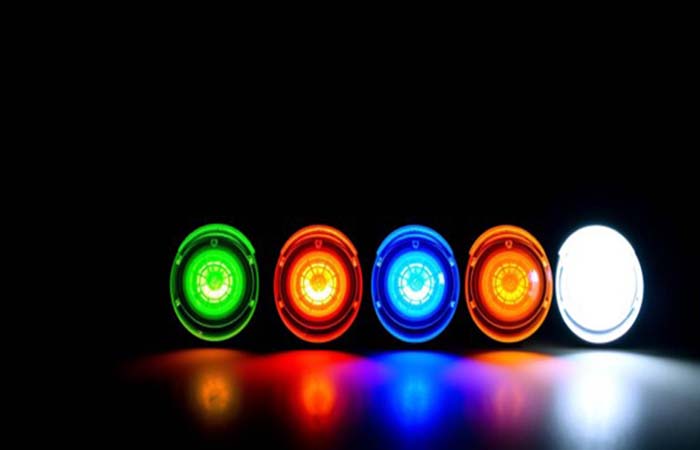
Colors can be:
- Red – Fault or stop
- Green – Normal operation
- Yellow – Warning or standby
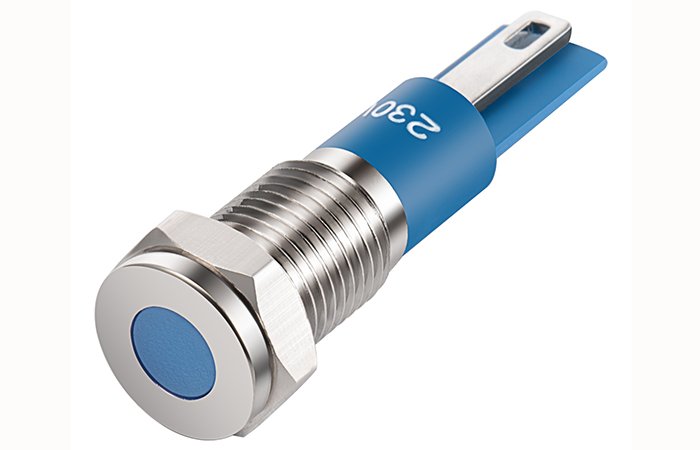
- Blue – Optional function or control
- White – Power or general signal
Internal light source
An indicator lamp has a light source that turns on and provides specific colors. The source can be:
- Incandescent light bulbs
- Light Emitting Diodes
- Neon tube
- Fiber optic light pipe
Mounting and terminals
How does your indicator lamp fix the devices or panels? Mounting options can be panel mount or snap-in mount.
Terminals include:
- Solder lugs
- Quick-connect spade terminals
- Screw terminals
- Wire leads
Types of Indicator Lamps
There are four fundamental types of indicator lamps available in the market.
LED indicator lamps
LED indicators use light-emitting diodes to consume less energy but produce better light. They have better features such as:
- Long life up to 100,000 hours
- High energy efficiency
- Compatible with AC and DC technology
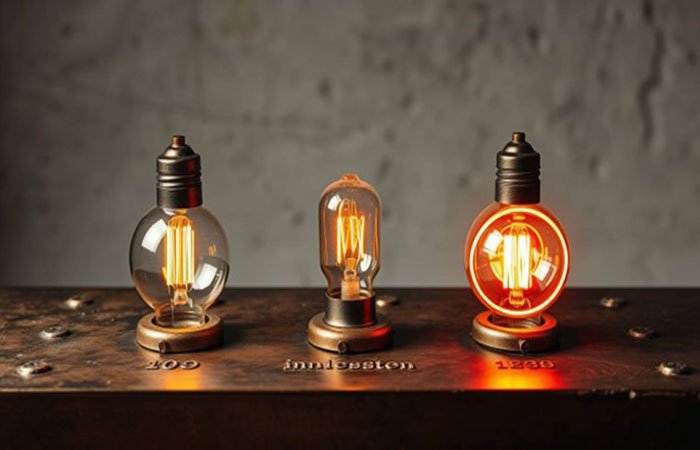
Incandescent indicator lamps
use heated filaments to produce light. They are an older technology with lower cost but less energy efficiency.
Neon indicator lamps
Neon indicator lamps are a more stylish way of light source. They emit light through the ionized neon gas and operate at a higher voltage range of 90V-250V.
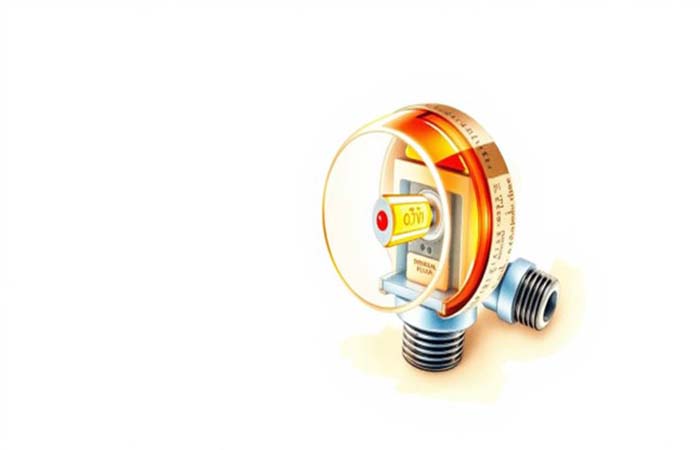
Fiber optic indicator lamps
Fiber optic indicator lamps offer a remote light source and are ideal for remote monitoring. They can be useful in hazardous systems.
Characteristics of LED indicators
LED indicators are way ahead in terms of technology. It comes with the following features.
Energy efficiency
LED indicators consume milliwatts of power and deliver high energy efficiency compared to incandescent bulbs and neon lights.
Longevity
The long life of 100,000 hours is still the most practical and impressive feature.
Instant response
LED indicators don’t need a warm-up compared to competitors like incandescent bulbs.
Low heat emission
The heat emission is quite low with a high conversion ratio. Therefore, LED indicators provide more light compared to the competitors.
Common Uses of Indicator Lamps
Indicator lamps serve various industries and applications for the following purposes.
- Industrial control panels can get an early warning about failures with multiple light color options.
- Automotive dashboards. Indicator lamps show the oil levels, engine check, and battery status.
- Consumer electronics. TVs, computers, and chargers use this light to know the operational status or charging status of a device.
- Household appliances. Washing machines, ovens, and microwaves harness indicator lamps to show the running status and failures.
Wiring and Installation Guide
Tools and materials needed
- Indicator lamp
- Screwdriver
- Wire stripper
- Multimeter
- Crimp terminals (if needed)
- Electrical tape or heat-shrink tubing
- Drill (for panel mount holes)
Step-by-step wiring instructions
- Step 1: Turn off all the power supplies to the circuit.
- Step 2: Find the mounting space and bore the hole into the surface for the indicator lamp mounting.
- Step 3: Insert the lamp into the hole. Get some clips or nuts to fix it in place.
- Step 4: Connect wires to the indicator lamp terminals. Confirm polarity before you proceed.
- Step 5: Clamp all the wires and insulate if there are any exposed components. Recheck all the settings.
- Step 6: Turn on the power source and check the lamp. If it turns on, you’ve done a great job!
Safety precautions
If it is your first DIY job, be agile and come with the following safety measures.
- Get gloves and glasses to avoid any mishap to your body or eyes.
- Verify the voltage ratings of your system and check compatibility with the indicator lamps.
- Turn off the power source when you are installing the indicator lamps.
- Avoid dealing with live panels or wearing gloves.
Maintenance and Troubleshooting
Maintenance can make all the efforts to extend the lifespan of your indicator lights.
Regular inspection routines
- Go for the regular inspection, whether daily or weekly, based on the schedule.
- Check for dimming or discoloration of the indicator lights and make prompt corrections.
- Clean up lenses and ensure they are intact and clear so light doesn’t disperse.
- Maintain the cleaning routine and extend the life of the lamp.

Common issues (flickering, dimming, not lighting)
| Issue | Likely Cause | Fix |
| Not lighting | Power off, wrong voltage, blown lamp | Check power, voltage, replace lamp |
| Flickering | Loose connection, voltage dip | Tighten wires, stabilize power |
| Dimming | Low voltage, dirty lens | Check voltage, clean lens |
| On/off randomly | Faulty wiring or switch | Inspect and fix wiring/switch |
| Overheating | Overvoltage, poor airflow | Reduce voltage, improve ventilation |
| Lens discolored | Heat or UV damage | Replace lens/lamp |
Key Features to Consider
Are you making the final decision? Get expert points to vet the right indicator lamps.
Voltage and current ratings
Match the voltage and current rating. Usually, 12V DC or 120V AC is the ideal rating. However, an overvoltage produces more heat and burns out the lamps. Under-voltage does the opposite and creates a dim light.
Brightness and color options
A different range of brightness is available. However, select the ambient lighting to better adhere to your needs. Check the color range from red to blue.
Mounting style
The flush mount looks clean and better, while the extended mount offers better visibility from multiple angles.
IP rating and environmental resistance
Do you have harsh environmental conditions? IP65/IP67 can protect you. However, check vibration and temperature resistance beforehand.
Lifespan and durability
LED indicators are better at durability, maintenance, and lifespan. However, you can select other options like neon bulbs or incandescent bulbs.
FAQs
1.How do I test the faulty lamp indicator?
A multimeter is often used to check faulty lamp indicators. It tells about the current, voltage, and power of the indicator and any disturbances or incompatibility with the power supply.
2.Do lamp indicators come with audible alarms?
Lamp Indicators mainly focus on the visual signals in the form of light colors. However, some indicators are customized and come with an associated buzzer for further alert about the process.
3.Can indicator lamps be replaced or serviced?
Most indicator lamps come with replaceable bulbs or LED lights. If your lamps are sealed externally, they are irreplaceable. Before purchasing the replaceable lamps, check lamp specifications.
4.Is it possible to dim the LED lamp’s brightness?
Yes. First, check if your LED lamps offer dim brightness support. Otherwise, you can get a compatible switch that decreases the light intensity. Sometimes, input voltage can alter the brightness and cause the dimness of the brightness.
Conclusion
Indicator lamps seem simple and small tools but their functions are of the last point warriors. They wave their color flags to warn you about the early problems. The latest technology is deploying indicator lamps in every device and system to grab the instant visual signals and take necessary steps before the system plunges into the failure process.